
Grandma Sunny’s pies were so good. After an excellent family meal at her house, we’d often be treated to the flakiest crust we’d ever had. Her home made pies were in great demand at church events. If she delivered one to your house, you were special to her.
After had my own kitchen, I went to ask her for her pie recipe. I figured it would be good to know it for my own holiday meals. I expected to possibly be turned down, but it turned out her recipe was not a secret. That was good news, but I found out that numerous people had received the recipe, and had not been able to make it the way she did. To learn to make it, I would have to come over and see how it was done.
Apple Pie

This is not just a recipe, but also a technique I learned from grandma and then took a little bit further.
Kitchen Items
- marble rolling pin
- marble rolling surface
- Pyrex mixing bowl for pastry
- apple peeler-corer-slicer or a knife
- mixing bowls for filling
- rolling cloth
- pastry cutter
- 9-inch Pyrex pie plate
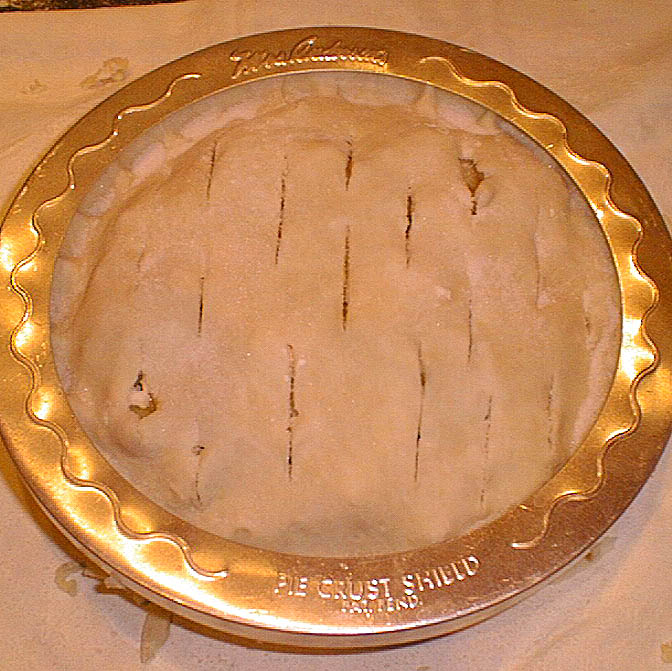
- pie crust shield or 3” aluminum foil strip
- pie drip pan (one with a hole in the middle) or aluminum foil
Advanced Preparations
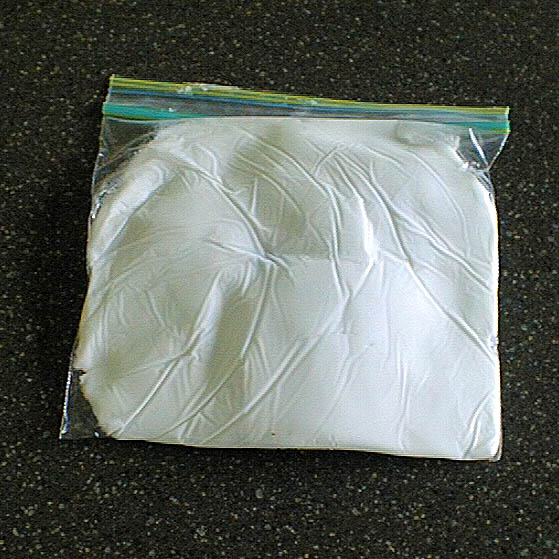
Flatten the Crisco for both crusts in one plastic sandwich bag. Freeze the Crisco, marble rolling pin, rolling surface, and the pastry mixing bowl.
The apples should be at room temperature prior to slicing. The bottom crust will not cook well if the apples are cold.
When the advance preparations are complete, start the filling.
Apple Filling
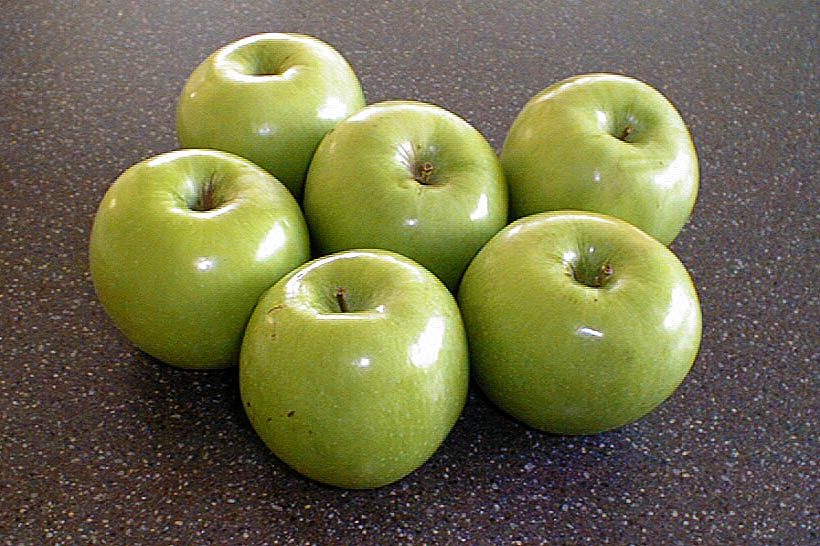
- 6 Granny Smith apples (about 6 cups)
- 1 tablespoon lemon juice
- 3/8 cup sugar
- 3/8 cup light or dark brown sugar
- 1/4 cup all-purpose flour
- 1/2 teaspoon ground nutmeg
- 1/2 teaspoon ground cinnamon
- 1/8 teaspoon salt
- 2 tablespoons butter
Peel, core, and quarter the apples. Grandma sliced the apples by hand into 3/16” thick slices. I use an apple peeler-corer-slicer.


Coat the apples with the lemon juice so they will keep their color. Mix the remaining filling ingredients together in a bowl, except for the butter that will be added just before the top crust is placed. Add the apples, mix. Set the filling aside.
Heat the oven to 400°
First, place a drip pan in oven or put aluminum foil on the bottom of the oven.Prepare the pastry
Work quickly to keep the Crisco cool. If it melts before or during rolling, the crust won’t be as flaky.
Pastry for Two-Crust Pie
- 1 cup frozen Crisco
- 1-1/2 cups all-purpose flour
- 1 teaspoon salt
- 1/3 cup ice-cold water
Sift the flour to measure, then mix the flour and salt in the frozen mixing bowl.

Dust the Crisco slab with the flour from the mixing bowl.

Cut the Crisco into the flour with a knife or pastry cutter.

Mix until most of the chunks are about 1/8” to 3/16” in diameter. Do not use an electric mixer. Use your floured fingers or a fork. Work quickly and try not to warm the Crisco. You want little balls of cool Crisco covered in flour.

Pour the ice water evenly over the mixture. Carefully mix with your hand and lightly assemble the granules into a ball. You may need to add up to another 1/3-cup ice water until the granules just stick together. Separate the ball into two equal sized balls. Keep one ball out for the bottom crust and put the remaining one into the refrigerator for the top crust.
Pull out your frozen marble rolling pin and rolling surface.

Roll out the bottom crust. Hand-shape the ball into a squat cylinder. Place it on a floured rolling cloth on the frozen marble rolling surface.
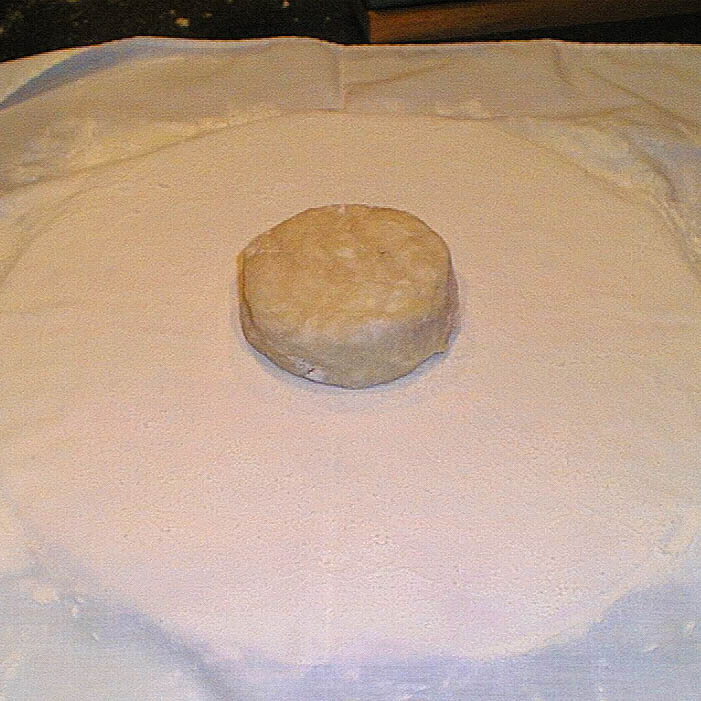
Flour the rolling pin. Lightly roll the pastry to have ½ inch overhang on the pie plate. Mend any cracks.

Add flour as necessary to the surface of the pastry and pin in order to avoid sticking. Work quickly and don’t work the pastry too much. Flip the pastry occasionally as you roll by picking up one side of the floured cloth and rolling the pastry over the rolling pin.


Then roll it back off the pin onto the cloth. When you have rolled the pastry to the appropriate size, pick the crust up by rolling it onto the pin. Then roll the bottom crust into the pie plate. Trim the edges of the crust leaving ½ inch overhang.
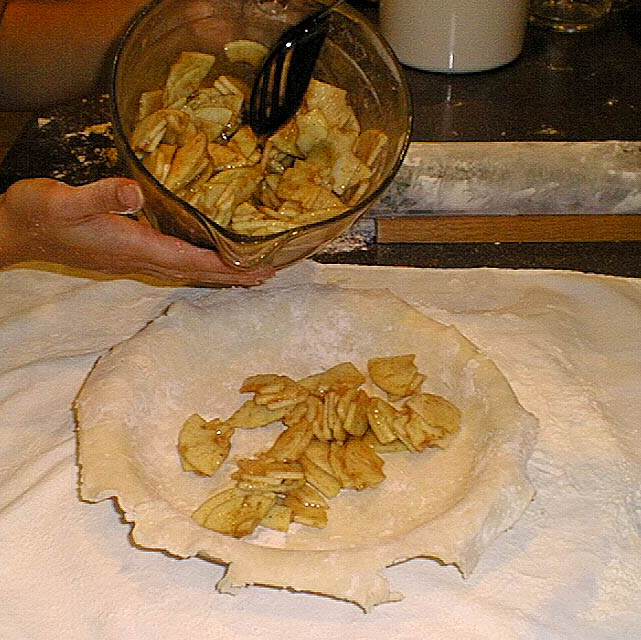
Add the filling. Do not add any of the liquid that may accumulate at the bottom of the filling bowl. It will keep your bottom crust from cooking properly.
Evenly distribute chunks of the butter on top of the filling.

Put the bottom part of the pie in the refrigerator. Roll out the top crust. Pull the bottom part of the pie from the refrigerator. Move the top crust to the pie with the rolling pin as before. Place the pie plate on the cold marble rolling surface. Trim, press, and fold the edges over.

Flute the edges of the crust with your fingers.

Slit the top of the crust in several places. Sprinkle the top with some sugar. Cover the pie edge with a crust shield or a 3-inch strip of aluminum foil.
Bake the pie for about 60 minutes. Remove the shield during last 15 minutes of baking. Bake until crust is lightly browned and juice begins to bubble through slits in crust.

Let the pie cool down some before eating.
Don’t forget the ice cream!
